Week 9
Mechanical Design
Assignment:
Group: Design a machine (Mechanism + Automation)
Including the end effector. Build the passive parts and operate manually.
Parts:
McMaster-Carr – Costs more, you can make them or purchase parts on Amazon
Principles:
Stress-Strain: Press/Force to an area – Response to the stress
Stress/Press
Strain/Pain
Friction:
Rubbing on materials
Static and Sliding
Spacing: Rub a material against itself
Hysteresis: Material deforms because it is pushed too far
Flexure: Beans that bend and deform
Force loop: Bit to, arm, to bed of machine
Elastic Averaging: More constraints more rigid
Kinematic Coupling: Groves that are cut/balls on the other part. Only one equation where to place it
Materials:
Plastics-HDPE strong but machines easy
Metal-Aluminum, can be machined
Ceramics-Can’t be machined, can be ground/water jet
Rubber-Vibration dampening
Foam-Cushioning
Hydro-stone: Cement like but has some elasticity. Make from molds.
Adhesives:
Acrylic Adhesives-Melts the acrylic into one piece
Good machine building doesn’t use much adhesive
Fasteners:
Nuts-Spring loaded minimize backlash
Bolts
Washers-Distribute loads at innerfaces, split water/curved-spring loads-prevent vibrations
Pins:
Can be used with pressfit
Framing:
T-slots-machine constructions kit. Can be cut down to size (more expensive but fast)
Drive:
Gears-Subtle, Involute-continuous
Sprockets-deliver forces from belts or chains
Shafts-used for timing
Guides:
Shafts or Rails-make things slide
Couples:
Shaft couplers-helps motors if you have a drive screw add degrees of freedom to make up misalignment
Documentation of personal work:
In order to maximize our time on this project we were to split up the tasks and delegate responsibilities. The parts of the project that I worked on were as follows:
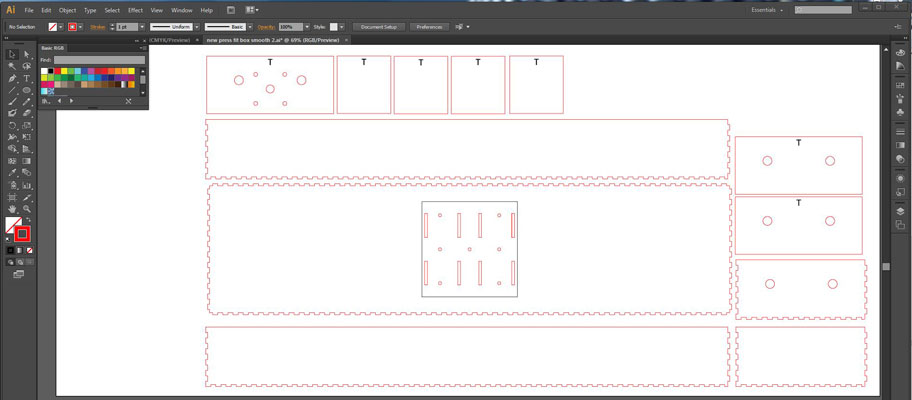
I set up the files from the tutorial in Illustrator to be cut out of cardboard on the laser. We then put the cardboard box together as a group (Jeff and I).
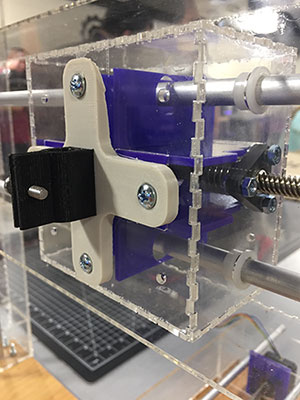
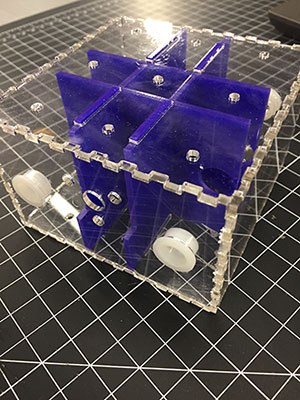
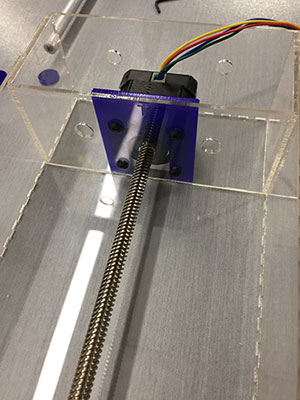
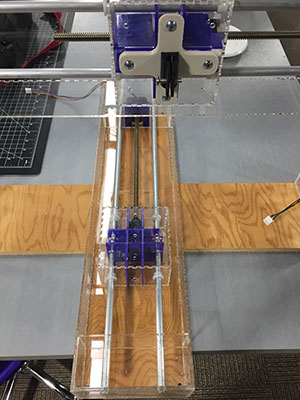
Once we understood the concept of the box that would contain the motor and slides, I designed and drew the files for the press fit acrylic box in Illustrator. Then I set them up to be cut on the laser. This included the exterior box, the dividers to hold the slides and motor, the interior box that would move on the stepper motor. I chose to have different color acrylic accents within the boxes to add a unique design to the pen plotter. We both used the laser to cut the acrylic pieces before assembling the boxes.
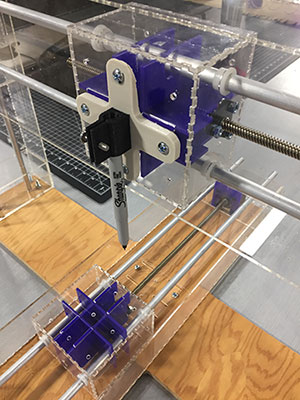
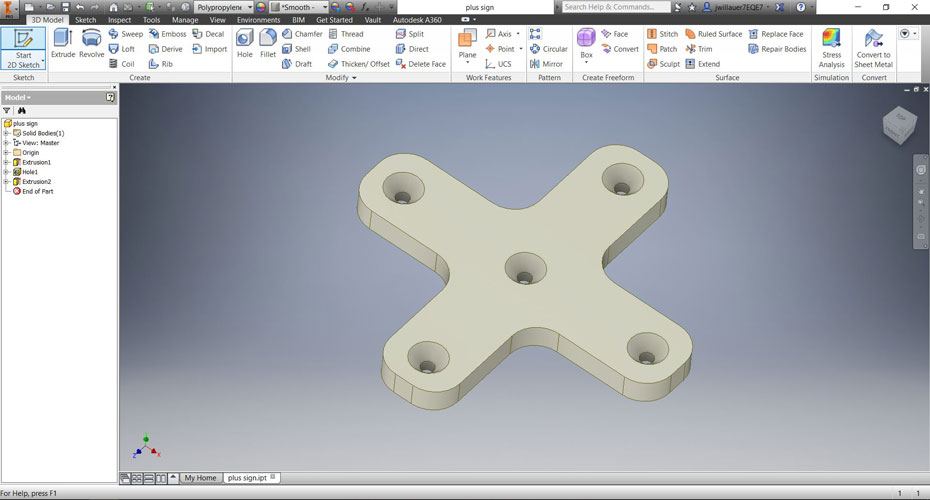
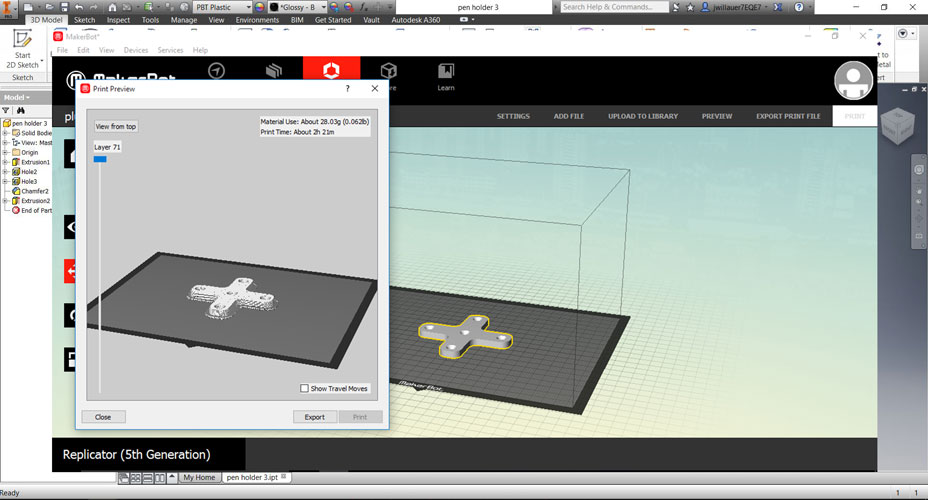
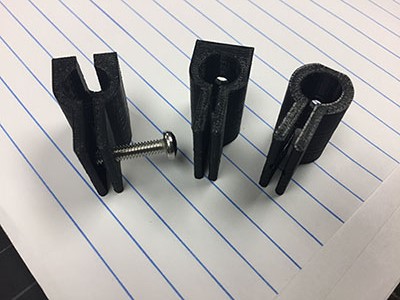
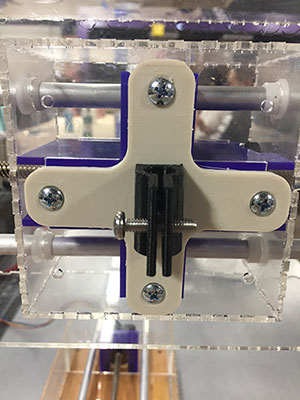
In inventor I modeled the parts for the pen holder and 3D printed them (all of the trials as well!). After they were printed I put the pen holder together to be assembled by Jeff with the rest of the machine parts.
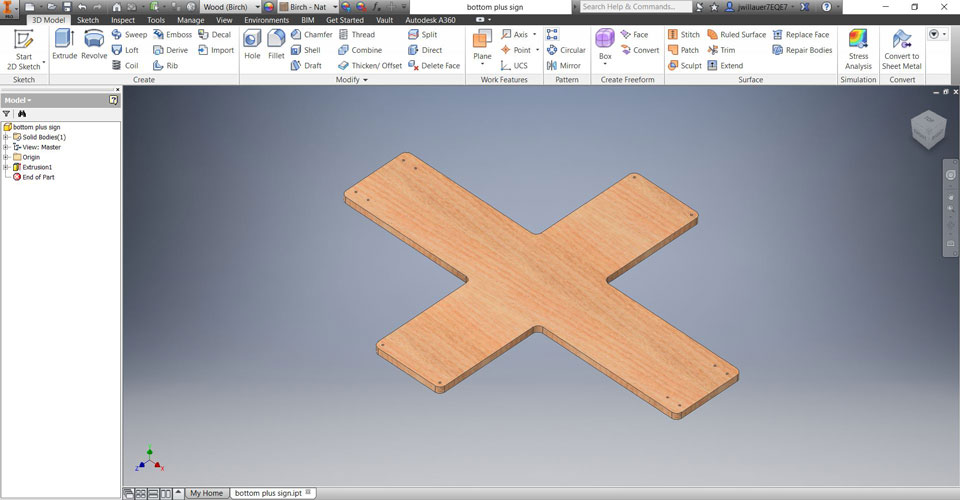
I modeled the base of the machine in Inventor and set it up in Fusion 360 to be cut out.
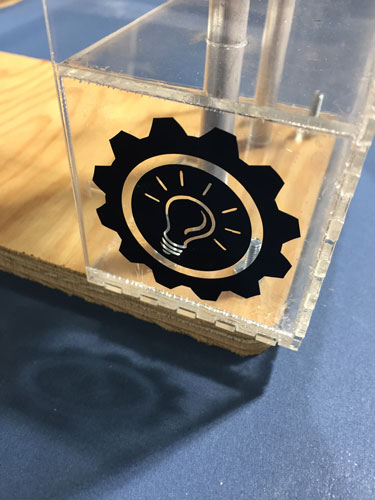
Then to add a last touch of design I used the vinyl cutter to add a few decals to the machine.
Lastly, I added the group work to the lab page and documented the machine!
Group Project Waunakee Innovation Center - Click here!
Week 9 Photos